I have here a tutorial on how to make your own paper bag without money involve. I use all the materials that is available in my office, you can have it too.
Try to be resourceful and be eco-friendly by using the materials that you think is a trash. Just look at in your surroundings like in your house and offices and be creative to make it useful and new again.
Here's the materials :

1. Scratch paper (bond paper, magazine, etc.)
2. Glue
3. Scissor
4. Sign pen (black & red)
5. Colored Marker (neon pink,green and yellow green)
6. Toothpick
7. Smiley cut out design (or any cut out pictures that you like)
How to do :
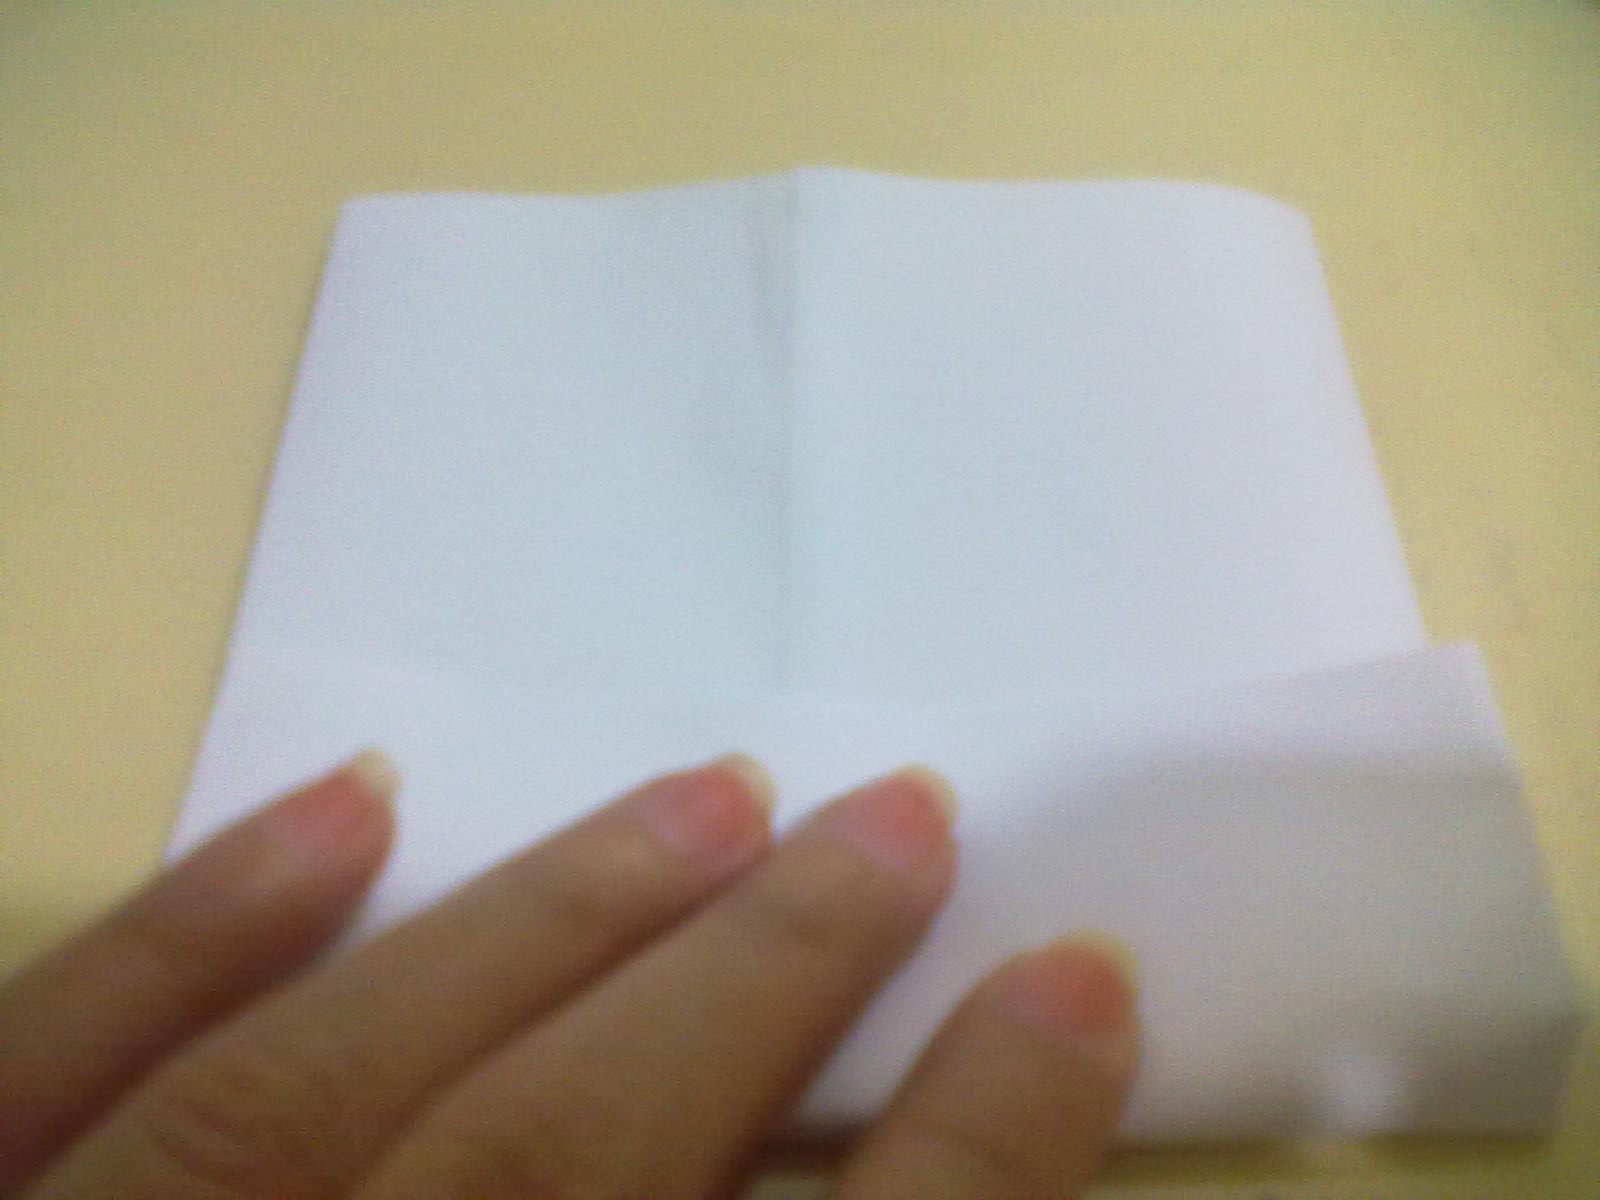
Step 1. Place scratch whole bondpaper/magazine in the table. When making a paper bag either big or small it depends on your choices, comfortability and your needs.

Step 2. For me, i cut half of the scratch bondpaper and it looks like this.

Step 3. I just estimate the half of a bondpaper into 1/4 size in the left side and fold.

Step 4. I fold also less of the 1/4 size in the right side of the bondpaper.

Step 5. I make it sure to have atleast 5 cm space to put the glue and flattened the 2 folded sides of the bondpaper.

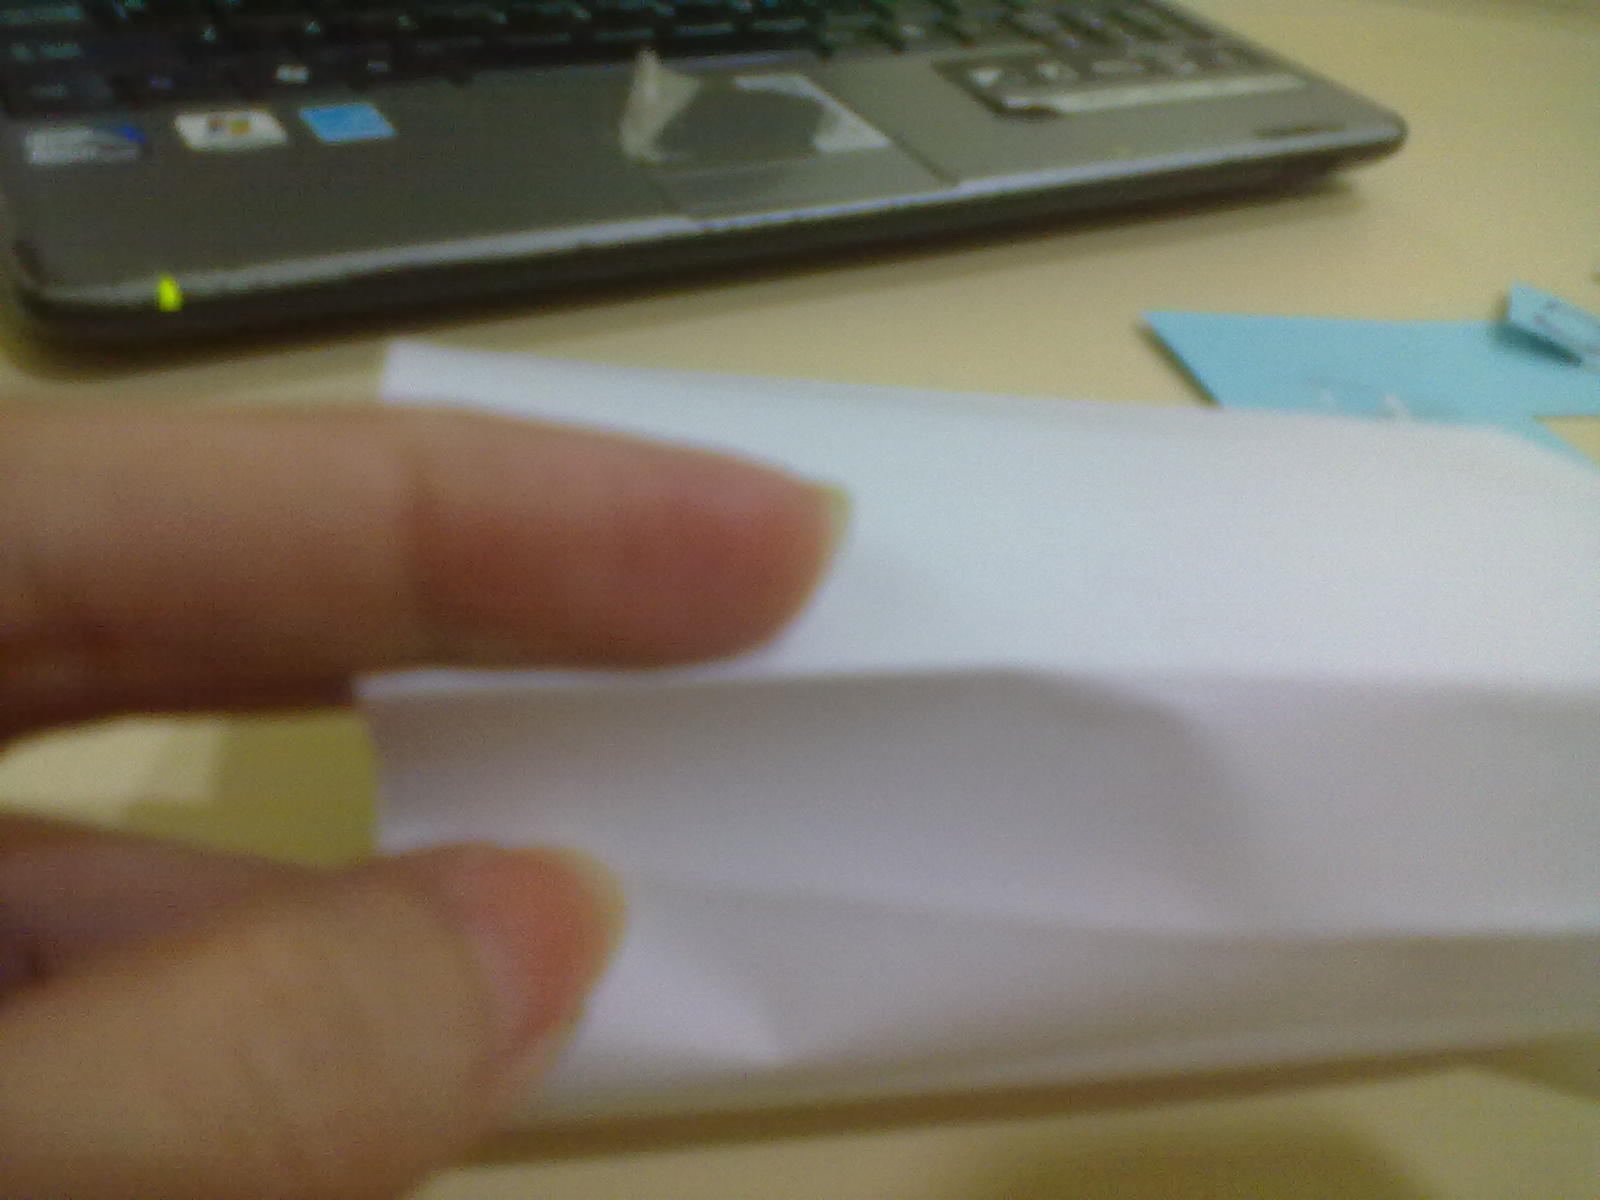
Step 6. Put a little amount of glue at the given space in the center of your bondpaper.

Step 7. Place the right side folded paper to the left side with glue then flattened the paper.

Step 8. Next fold from the edge up to the center and flattened the paper.
Step 9. After flattened the paper it will look like this..

Step 10. Open the folded edge of the paper and hold the center of it.

Step 11. Fold again the right side edge of the paper from the center of the line.

Step 12. Follow the same steps above to the left side and flattened both sides and it will looks like a diamond.

And put some glue in each side of this

Step 13. Below of the diamond shape fold the edge until it will pass to the center.

Step 14. Do the same above

And be sure also to glued the center of the folded paper.

Step 15. When folding the edges make it sure that each side has the same point like at the picture below.

Step 16. Fold again the paper from the top to edge and aligned with each point given.

Same with the right side until it will look like this..

Step 17. Open the paper bag from the top.

Step 18. Reverse the folded point of the paper from outside folding to inside fold.
Then, flattened its folded point of the paper from the top until its edge.

Step 19. Fold the 1/4 size edge of the paper

Step 20. And your done!

It's up to you in designing your paper bag, you can still add a 2 holes above of it and put a cord to become a real paper bag. I don't have any cord that's why i leave it that way. Anyway by using the materials stated above here is my finish product.

I hope you learn my simple tutorial, Enjoy! ^_^
No comments:
Post a Comment